
Happy Foodie Friday! Today I'm going to show you how to make vanilla fudge. I started making fudge in December last year when I was unemployed and broke (now I'm employed and, er, still broke). I couldn't afford to buy everyone amazing Christmas presents and, as I had so much free time on my hands, I decided to go the handmade route instead. It took a bit of practice to get the hang of making fudge, but with my tips and tricks, you'll be able to get it right first time!
I've tried a couple of different recipes in my quest to make perfect fudge, and by far my favourite is Hugh Fearnley-Whittingstall's from his River Cottage Everyday book. (Off topic: My mum and I adore Hugh Fearnley-Whittingstall - we watch all his programmes on the telly. Mum was devastated when he cut his hair short!) The recipe will make 35-40 squares. Like I said, it's Hugh's recipe, but my instructions.
300g caster sugar
1 tbsp golden syrup
100g unsalted butter
100ml double cream
1 tsp vanilla extract
1. Using butter or margarine, lightly oil a 20x20cm (or similar) baking dish, and line the bottom with greaseproof paper.
2. Put the sugar, golden syrup, butter and cream in a heavy-based saucepan. You want quite a large saucepan as the mixture will bubble up a lot when it boils. Heat very gently and stir frequently until the butter has melted and the sugar has completely dissolved.
3. If you have a sugar thermometer, put it in the pan now. Turn up the heat and let the mixture boil hard - don't stir it at this stage, leave it to do its thing until it has bubbled up nicely. You need to do this until your sugar thermometer registers 116C/240F, which can take several minutes. If you don't have a sugar thermometer (I don't), fear not! Get a glass of cold water and add a few drops of the mixture to it. If you can form these drops into a ball with your fingers, and it flattens when you take your hand out of the water, the fudge is ready. This is called the 'soft ball' stage. Another clue as to when it's ready is that the mixture darkens a bit in colour. Take the saucepan off the heat and leave to stand for about 10 minutes.
4. Add the vanilla extract and beat the mixture hard. You need to do this for quite a while, 10 minutes or more usually, until the mixture thickens and becomes grainy. This is where my fudge kept going wrong - I didn't realise you had to beat it for quite so long, and I lacked the patience (and energy!) to beat it by hand for such a long time, so often my finished product was far too soft and just kind of...melted. I always use an electric whisk now and it's so much easier - you still have to whisk it for about five minutes, but it requires a lot less arm muscle!
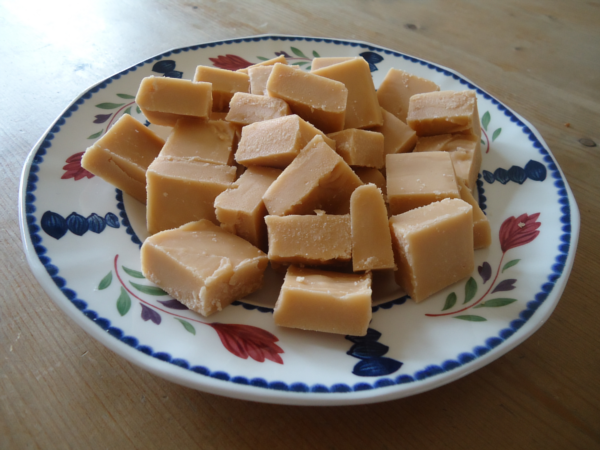
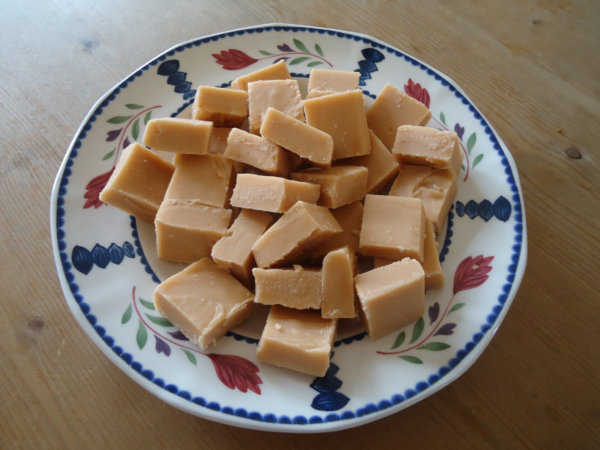
5. When the mixture has thickened, pour it into your baking dish and smooth the top with the back of a spoon. Let it harden a bit before marking into squares, and leave to set for 2-4 hours.
So there you have it. A fool-proof fudge recipe. You can make your own variants too, like chocolate or pecan or cherry or whatever. For Christmas last year I put some in cellophane bags I bought from Lakeland and tied them with pretty ribbons to make thoughtful but inexpensive presents. Or you could just eat it all yourself!
No comments:
Post a Comment